
Website
WordPress Publishing Checklist: Creating Optimized Content With the Gutenberg Editor

The Gutenberg editor has simplified the way we publish posts and pages on WordPress by introducing a user-friendly block system to manage content. But if you are using it without a consistent publishing process in place, you might be missing opportunities to optimize content and take your workflow to the next level.
In this guide, we’ll take you through the process of creating posts and pages step by step. It’s designed to help teams set up a publishing checklist so that every piece of content is optimized right out of the gate.
Note: I’m going to be using the terms “page” and “post” interchangeably throughout the article. While there may be some subtle differences to building pages, posts and other custom post types depending on how your custom website was built, the following process will apply to all of these page types.
Setting up your page

-
Create a new page.
-
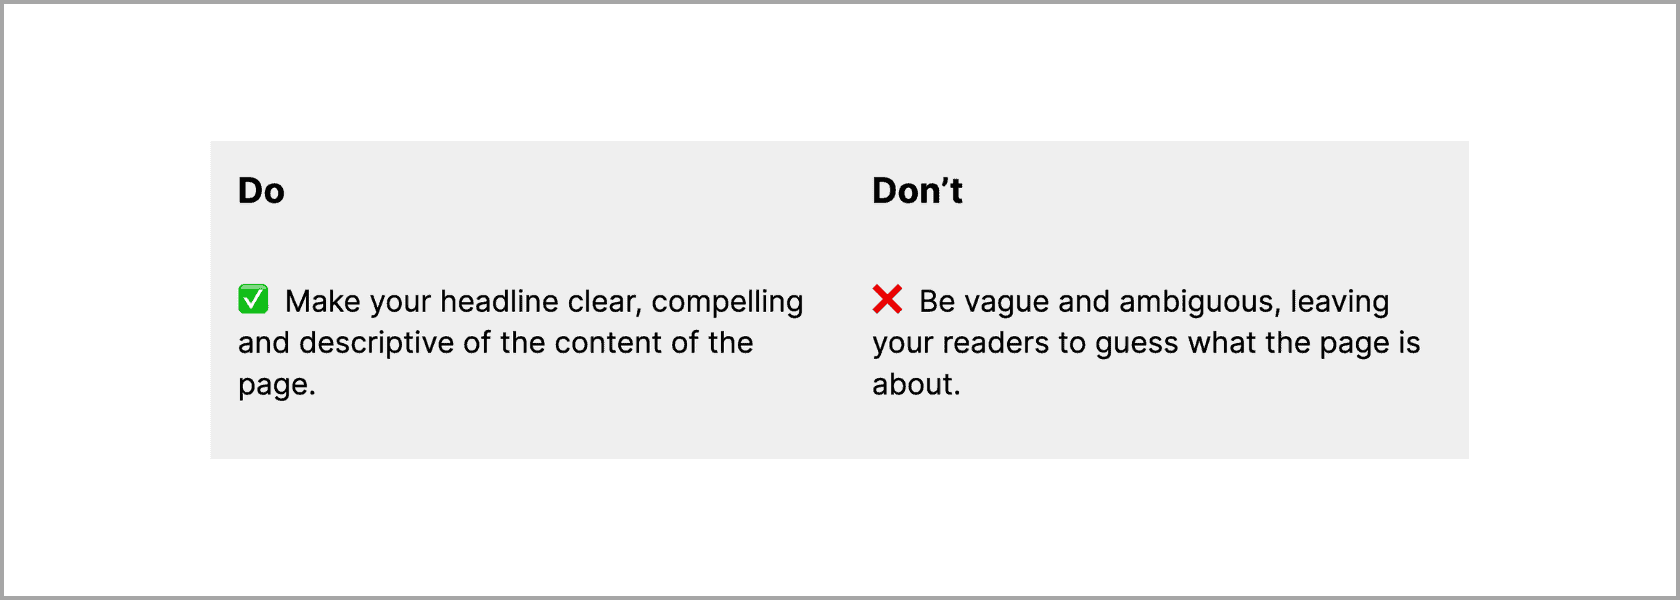
Enter a title (make it good). This will appear as the on-page headline. You can change this at any time, even after the post is published.
-
Make sure you reference your content guide to see whether you’re using Title Case or Sentence case.
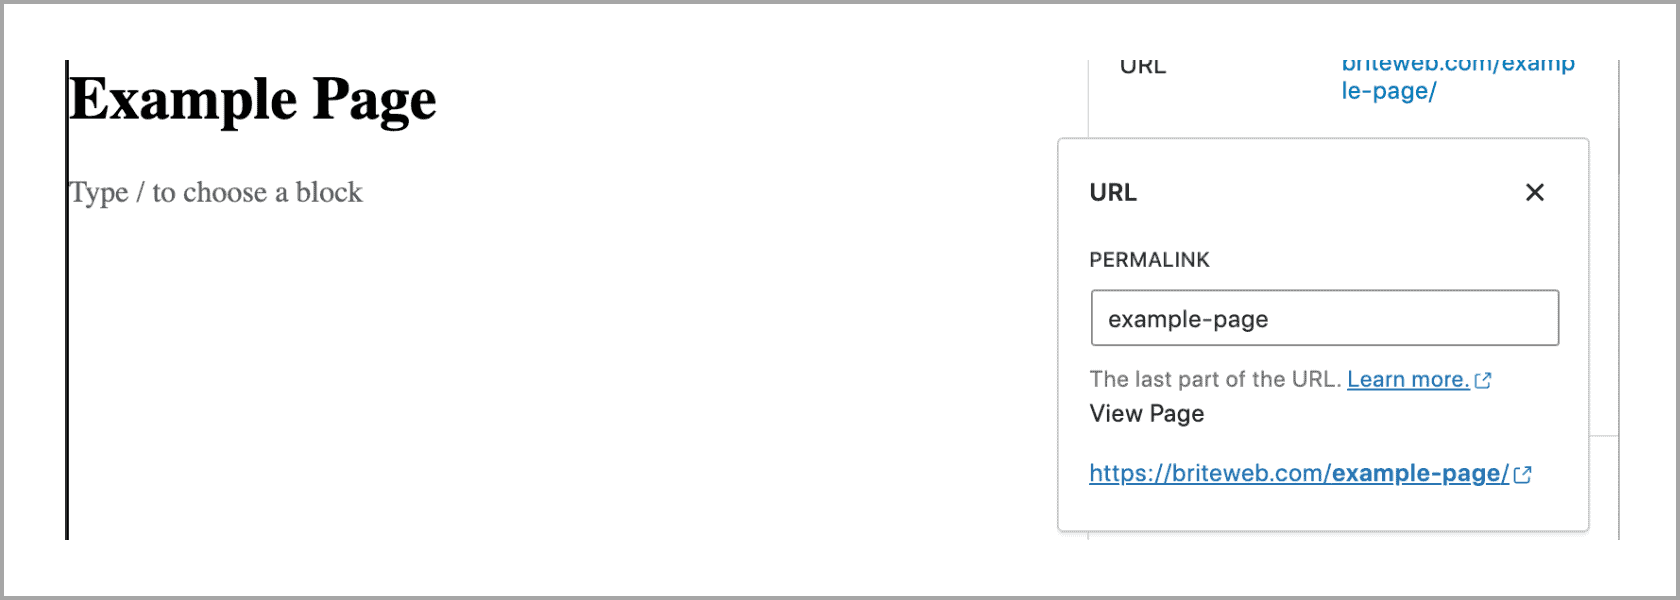
The title you first enter will populate the slug for your post (the last bit of the URL), but you’ll want to change that.
It’s good practice to keep your URLs short, descriptive and readable. I like to say you should be able to easily write it on a Post-It note or give it to someone over the phone. Separate words using a hyphen, keep numbers out of your URL, and make sure you use only standard alpha-numeric characters.
-
Next, add a featured image. This image often gets pulled into your post’s hero section of your page, as well as the thumbnail.
-
Assign the proper author and write an excerpt (we usually like to keep it under 160 characters so you can use this for your meta description as well).
-
Finally, if this is a blog post, assign a category; if it’s a page, assign a parent page (when applicable).
Formatting your content
Next, populate the content and format it properly for the web.
-
Always lead with the important information.
-
Write simply, at an appropriate reading level for your audience.
-
Break up your content using proper headings.
-
Keep your paragraphs short and scannable.
-
Use bullets and numbered lists.
-
Illustrate concepts visually when you can using images and graphics.
-
Bold and italicize important information
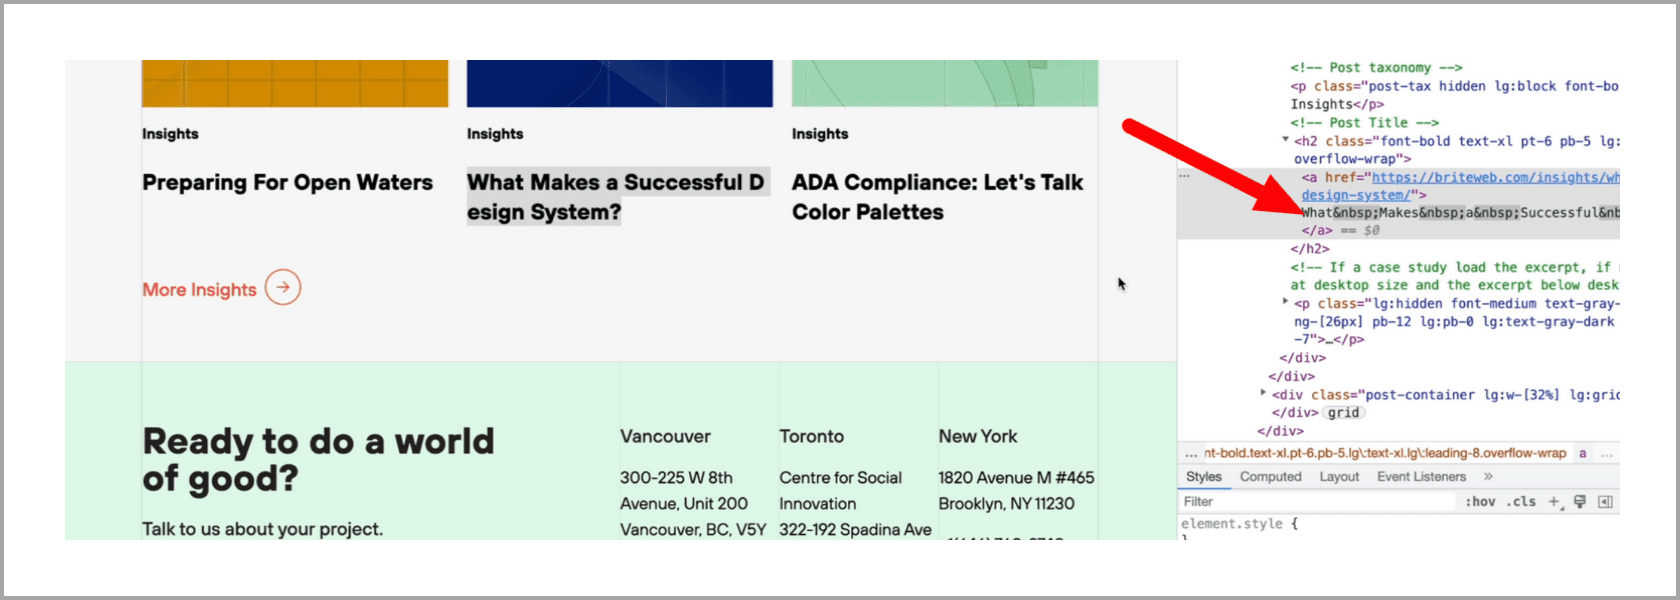
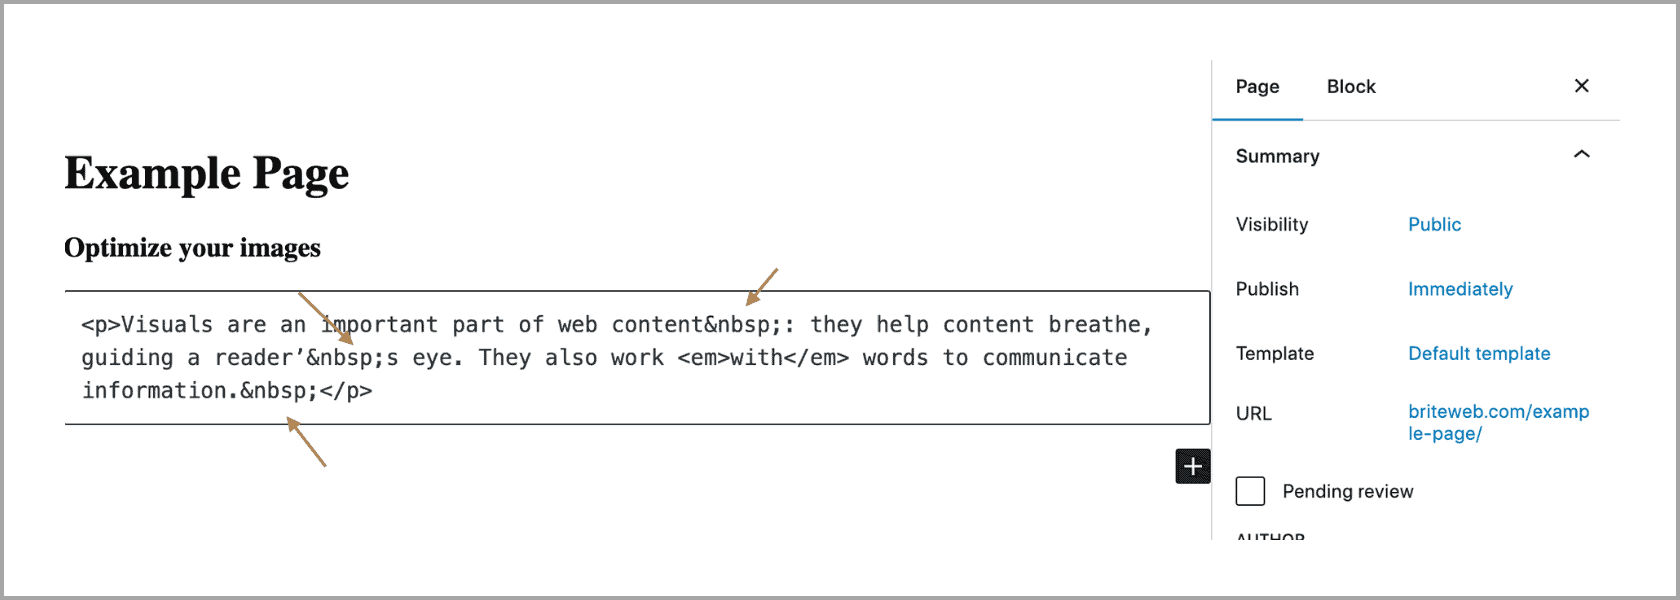
Beware of gremlins! If you’re copy-pasting content from a word processor like Google Docs, Microsoft Word or Apple Pages, you’re often going to bring in a bunch of junk HTML code, usually in the form of spans.
There are a few ways you can avoid this:
-
1
Hold down ⌘ + Shift + V on a Mac (Ctrl + Shift + V if you’re on a PC) to paste content without any formatting. This will remove everything: headings, links, bulleted lists as well as any junk code.
-
2
Copy and paste your content from a plain text editor (Notepad on a PC).
-
3
It’s always worth being familiar with the basics of HTML so you can flip over to your HTML view and manually remove the spans.
Use proper heading tags
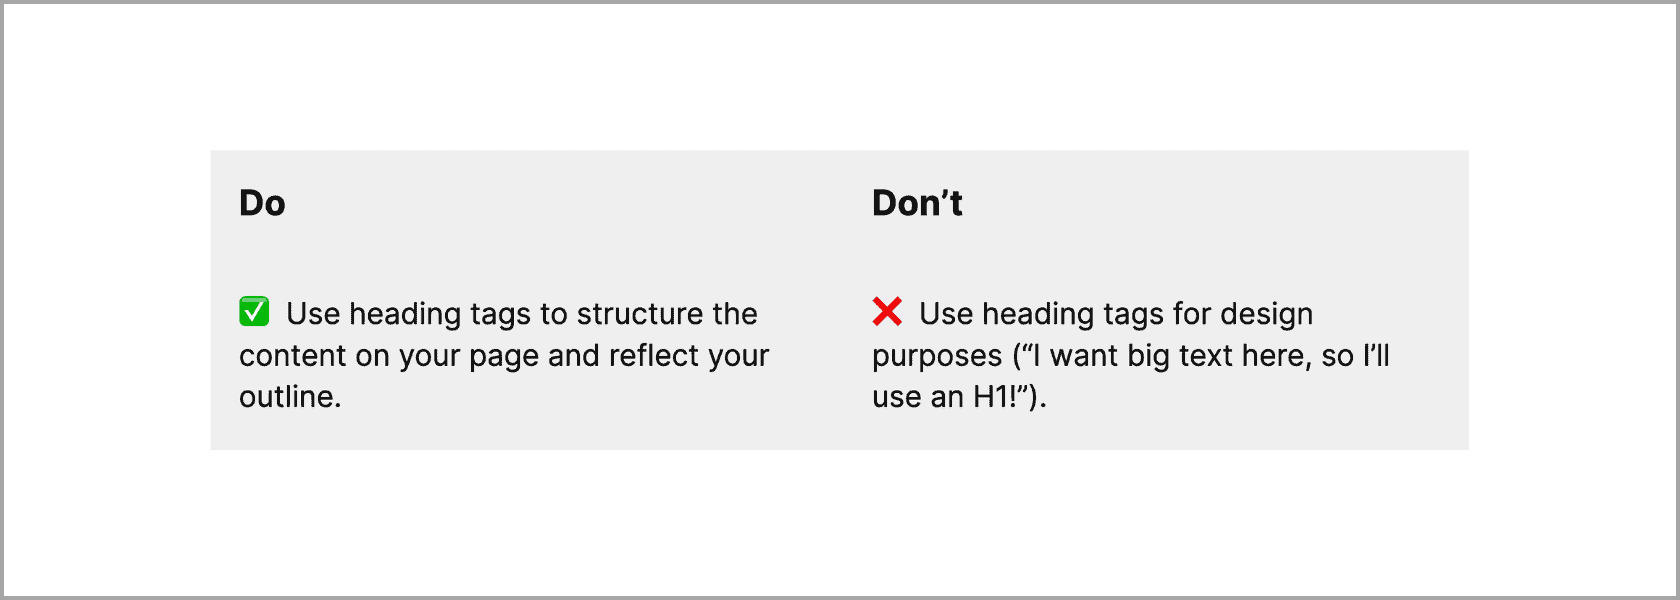
Headings make sense of the flow of the content on your page. When readers arrive on a page, they generally scroll through to scan. Through subheadings, they should gain a better understanding of the topic.
What’s more, heading tags are used by screen readers to navigate to different sections of your page and by search engines to rank your page.
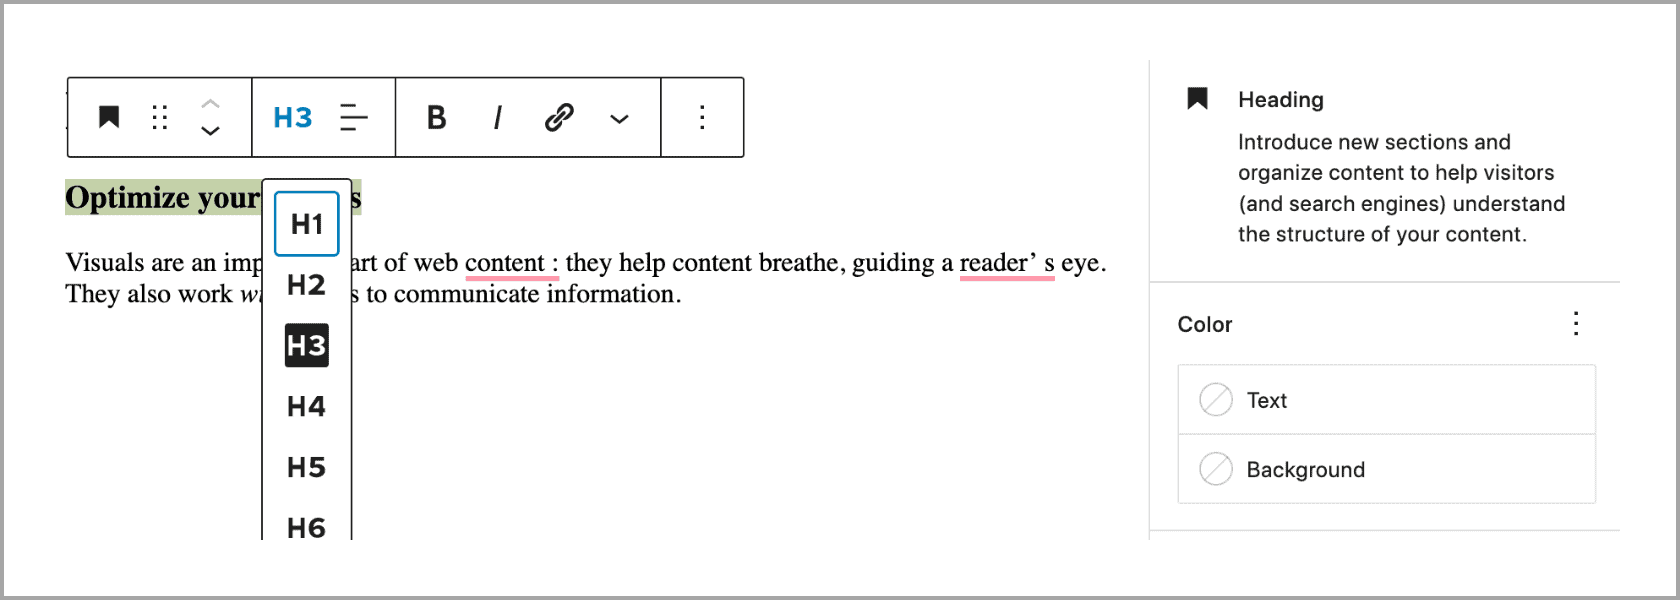
There are 6 levels of headings available (H1, H2, H3, H4, H5, H6). Every page should have one and only one H1. That’s your on-page title, the first thing you filled in when you created the page. You won’t need to use another H1 on the page.
The next level are your H2s. Those will be the main points in your outline. If you’d like to break down your main points into further subpoints, you’ll use H3s. And on you go.
You should rarely have to use anything past an H4; most of the time H2s and H3s are enough.
Optimize your images
Visuals are an important part of web content: they help content breathe, guiding a reader’s eye. They also work with words to communicate information.
But it’s important to format images properly so they improve rather than hurt your website’s performance or the reader’s experience:
-
Save your images in the proper dimensions. We recommend 2x the display size, no more. So if the biggest the image gets displayed is 800×640 pixels, save it at 1600×1280 pixels.
-
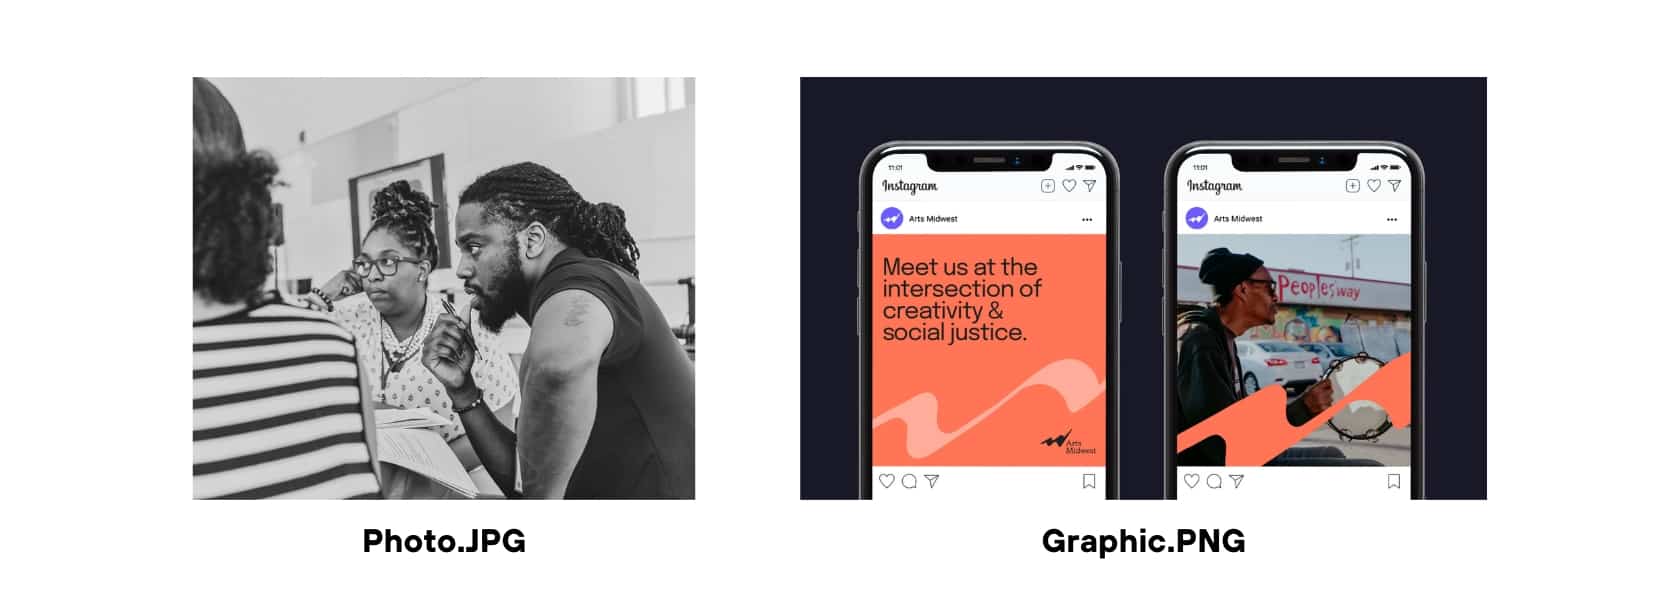
Save your images in the correct format. If it’s a photo, use JPG, if it’s a graphic, use PNG.
-
Save your images using a descriptive file name, all lower case, using hyphens to separate words. e.g. flower-pot.jpg
-
Compress your images as much as you can without losing quality. Aim for 50-100 KB. If you use Photoshop, you can save your images for the web and compress them. Or you can use an online tool like tinypng.com.
-
Add descriptive alt text to images to describe the contents for sight-impaired readers using screen readers.
Link to relevant content
Links are the secret sauce of the internet—they’re why we call it the web. They’re a powerful way to connect related pieces of content, to provide additional context and to back up your claims.
And both users and search engines (like Google) use links to hop around to relevant content on your site.
There are two kinds of links you want to think about when you publish a new page: links from this page and links to this page.
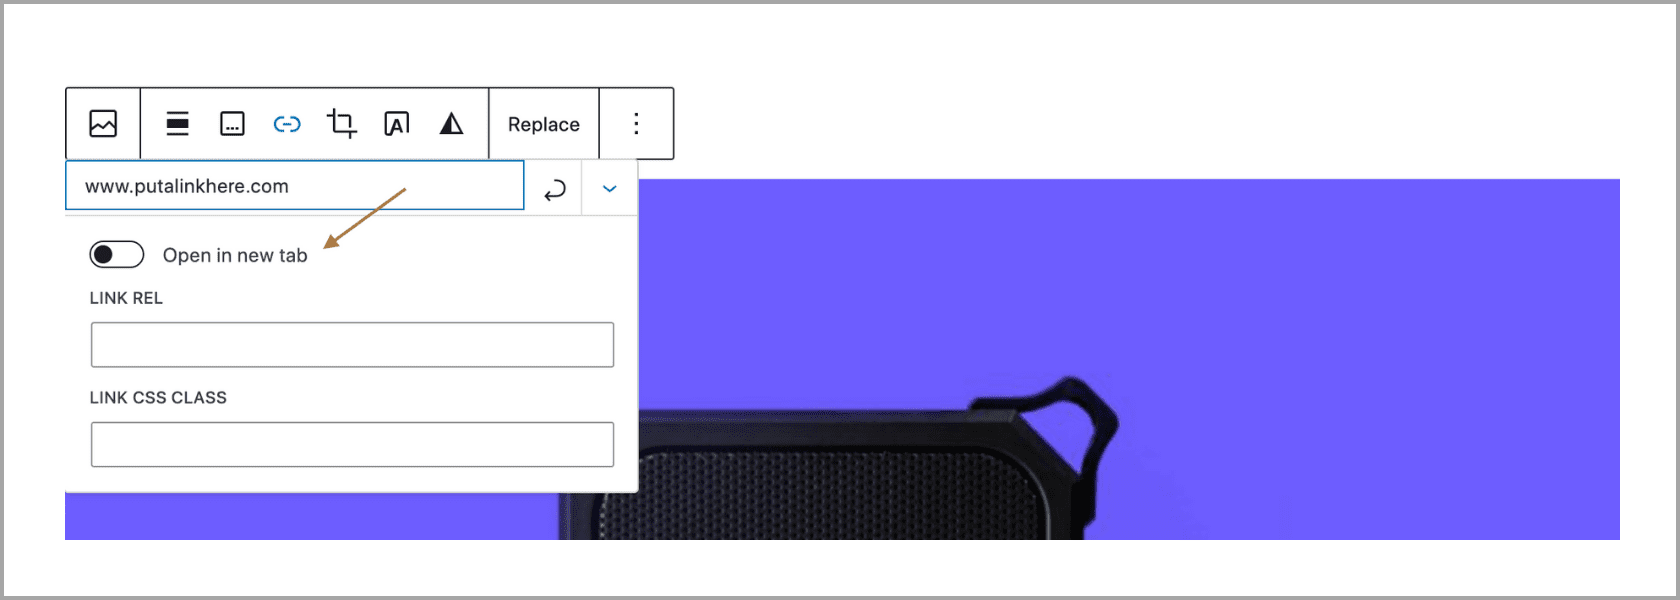
Should you open links in a new tab?
When you add a link to a page, you have the option to check a box to open that link in a new tab or to open it in the same tab the user is in, which would replace the page they’re currently on.
Typical best practices are: if it’s an internal link (linking to a page on your website), open the link in the same tab. If it’s an external link (linking to a page off your website), open the link in a new tab.
However, there’s emerging thought leadership around accessibility that suggests that, unless you have a mechanism to explicitly indicate that you’re navigating a user away from the site, you should always open a link in the same tab.
Optimizing your page for SEO
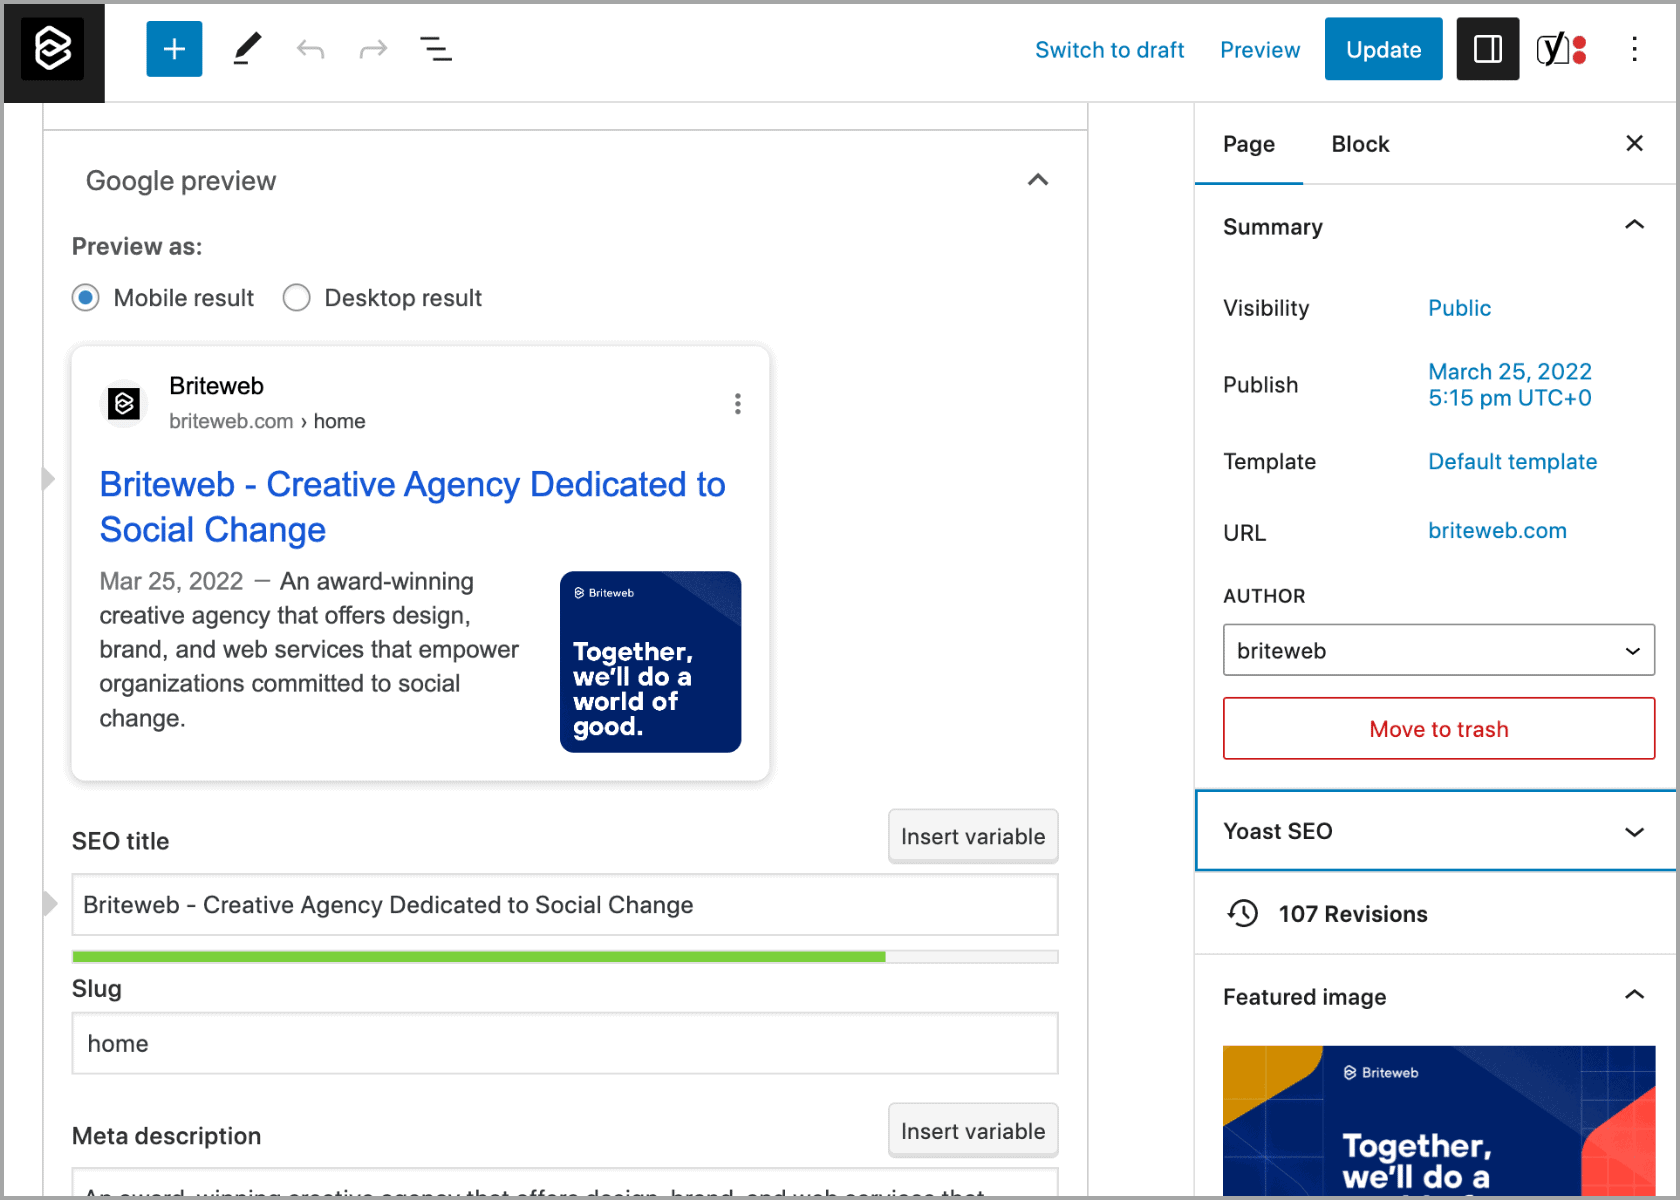
We usually use the Yoast WordPress plugin to optimize our clients’ pages.
Add a title tag. The title tag is the page title you’ll get in Google results. You can also see the title tag in your browser tab. Make this title similar to your on-page title (the very first thing you entered when you created the page) and keep it under 60 characters long.
Check out this post on how to optimize your title tag.
Check your slug. You should have already created it, but this is a good checkpoint to make sure you have.
Write a compelling meta description. The meta description shows up in Google results and gives the reader a taste of what they’ll read if they come to your page. Make it descriptive and under 160 characters long.
Specify the post type using Schema.org. This is structured data that communicates to search engines the type of content your page is about. Here are the types of structured data you’ll most frequently use:
- Blog post
- News story
- Report
- Person
- FAQ
- Product page
- Event
- About page
Optimizing your page for social sharing (optional)
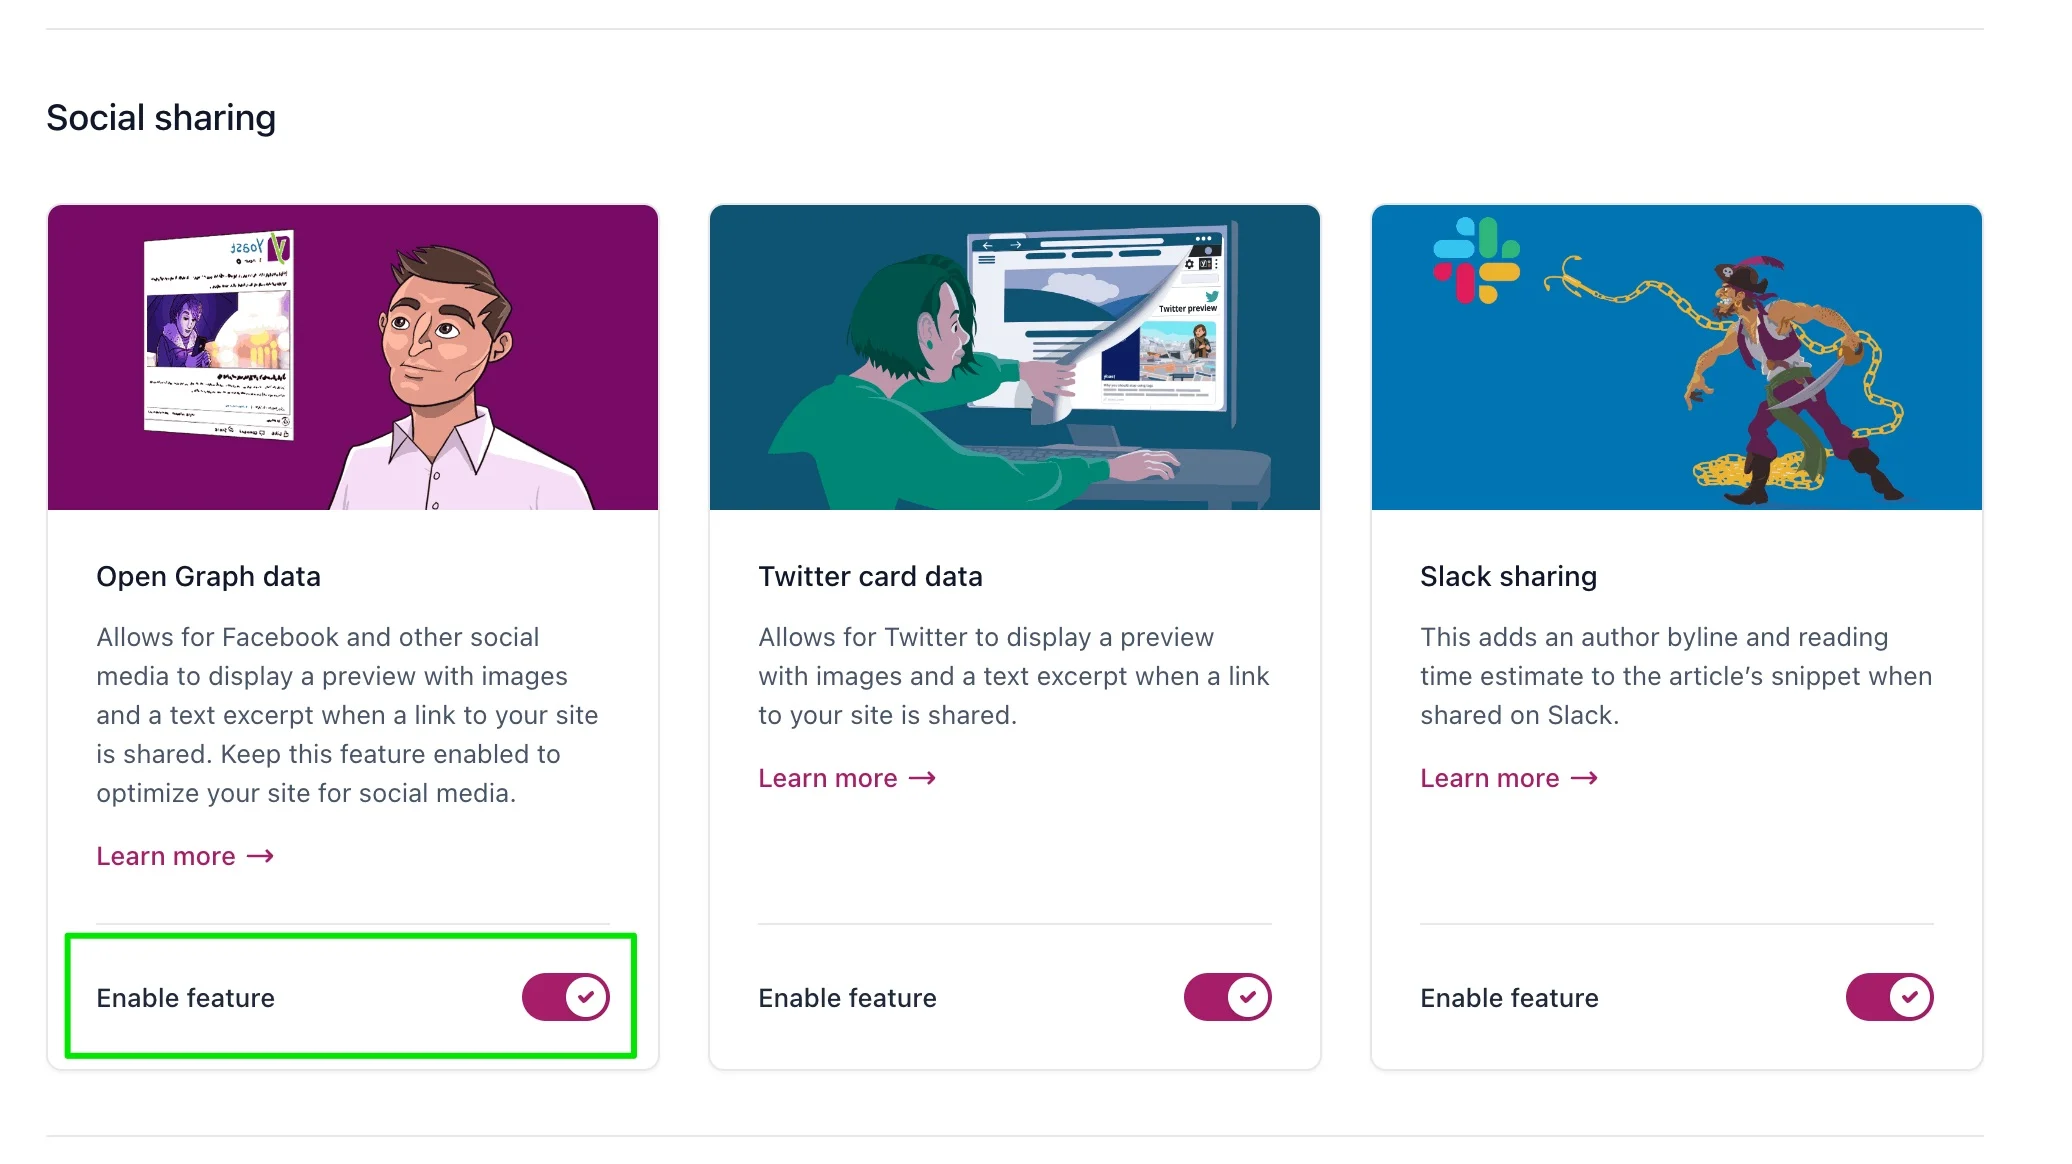
Image source: yoast.com
The meta data that populates when you share pages on social media is called Open Graph. Yoast will automatically populate your open graph title, image and description for you using your on-page title, featured image and meta description but you can choose to manually update these.
Building publishing habits
A website is not a magazine or a brochure: it’s quick to publish and easy to update. Those are benefits. But they also mean that we only rush publishing new content and only do the bare minimum, knowing we can always go back in later and fix it.
But later always comes later, the incomplete pages start to pile up and the efficiency of our content declines.
When you put the care needed into properly publishing your posts and pages, you improve your team’s workflow but you also nurture the value of your content.
Publishing Checklist
- Write a great title
- Make your URL short and clear
- Add a featured image
- Use proper heading tags
- Link to and from relevant content
- Format your links properly
- Keep your paragraphs short
- Use bullets and numbered lists
- Save your images in the proper dimensions
- Save your images in the correct format
- Save your images using a descriptive file name
- Compress your images
- Add descriptive alt text to images
- Write a descriptive title tag
- Add a compelling meta description
- Optimize your page for social sharing
In Conclusion
Developing a publishing process ensures you are always creating quality content. The use of a checklist that your whole team can follow will result in well-structured posts with optimized images and links to and from relevant pages. This way you’ll be creating a library of clean and consistent content, a more efficient workflow, and a guarantee that each post is optimized and of value to your audience.